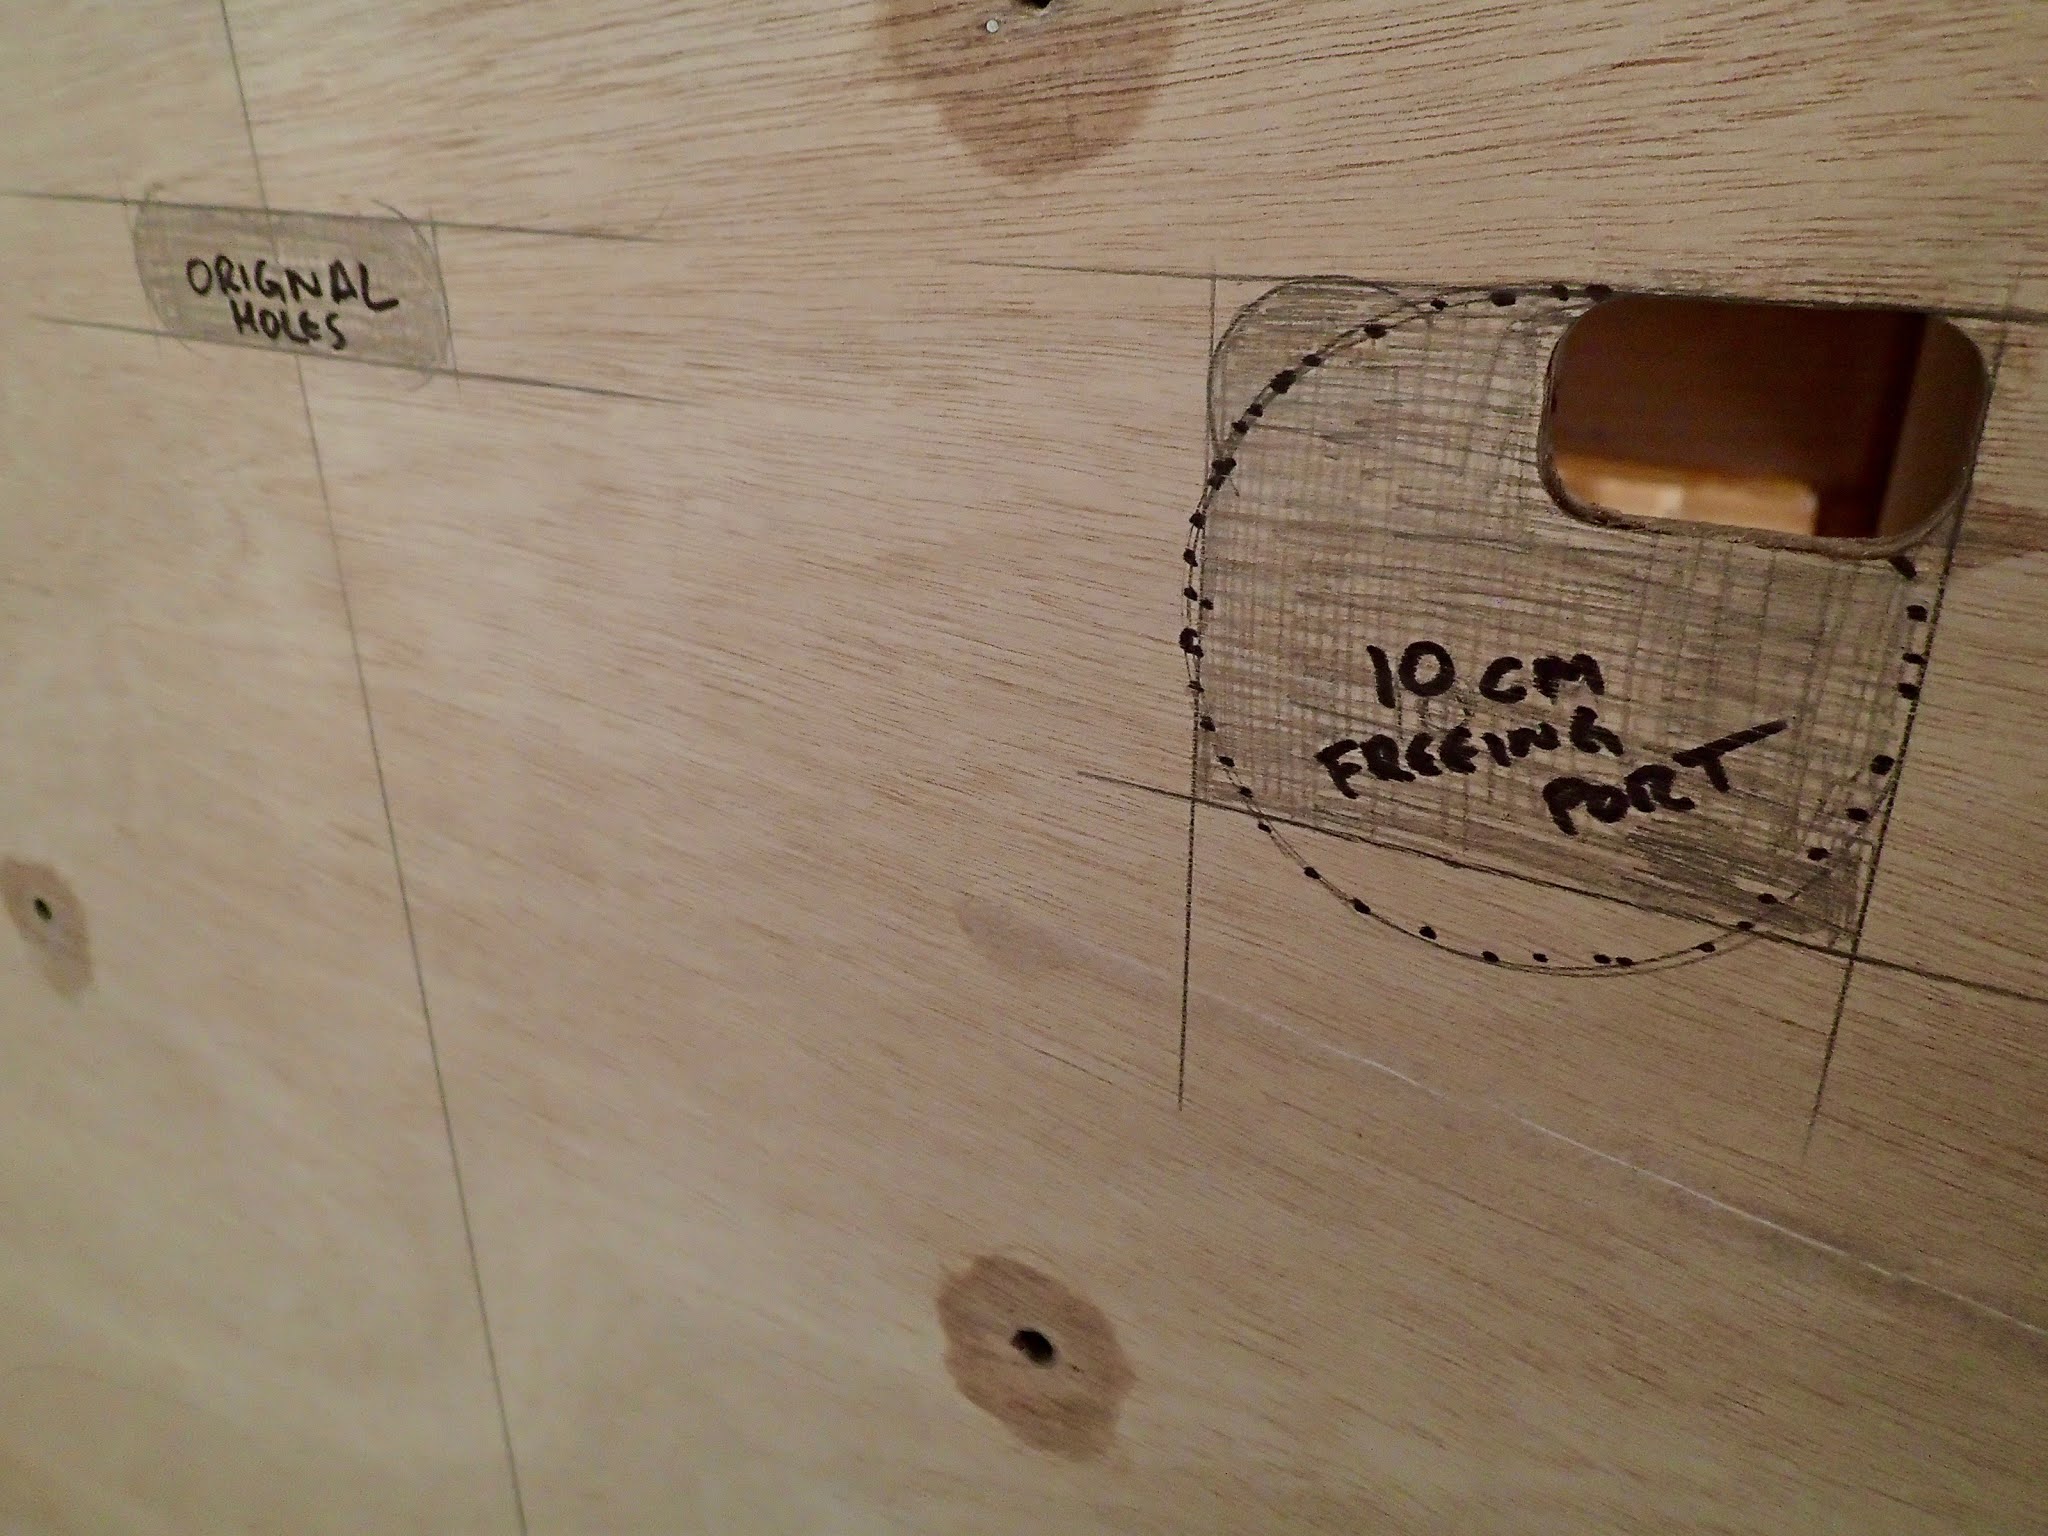
This post contains the last plywood hull skin going on, taping all the joints + fairing them in. I messed up the epoxy wet-out tape weights, so everything is a little overbuilt. The skeg, rudder and keel get mounted with laser aided alignment. Also, a quick video look around (less compression, so better quality, sorry about the last video). And lastly, the hull received a layer of what is called “1708”. A bi-axil, quilted fiberglass mat/cloth, that is 1445 g/m once it is wet-out. It is really a boat at this point. The hidden gem in this post is the freeing ports I have come up with in the transom. Now I do not need the removable inspection ports, (required 10cm (4 inch) within 30cm of the sole to meet class requirements).
There are times that boat building is monotonous and boring, seeing no progress. Currently every project is going great, flying along, and moving leaps forward.
 |
| 2nd Bottom Ply going down |
 |
| 2nd Bottom Ply going down |
 |
| On and filled |
 |
| Layering |
 |
| Cockpit Drains & Freeing Ports (instead of inspection ports) |
 |
| Freeing Port Dry Fit |
 |
| Freeing Port Dry Fit |
 |
| 1st & 2nd Layers of Chine Glass Tape 300 g/m per layer |
 |
| Bottom to Transom Tape |
 |
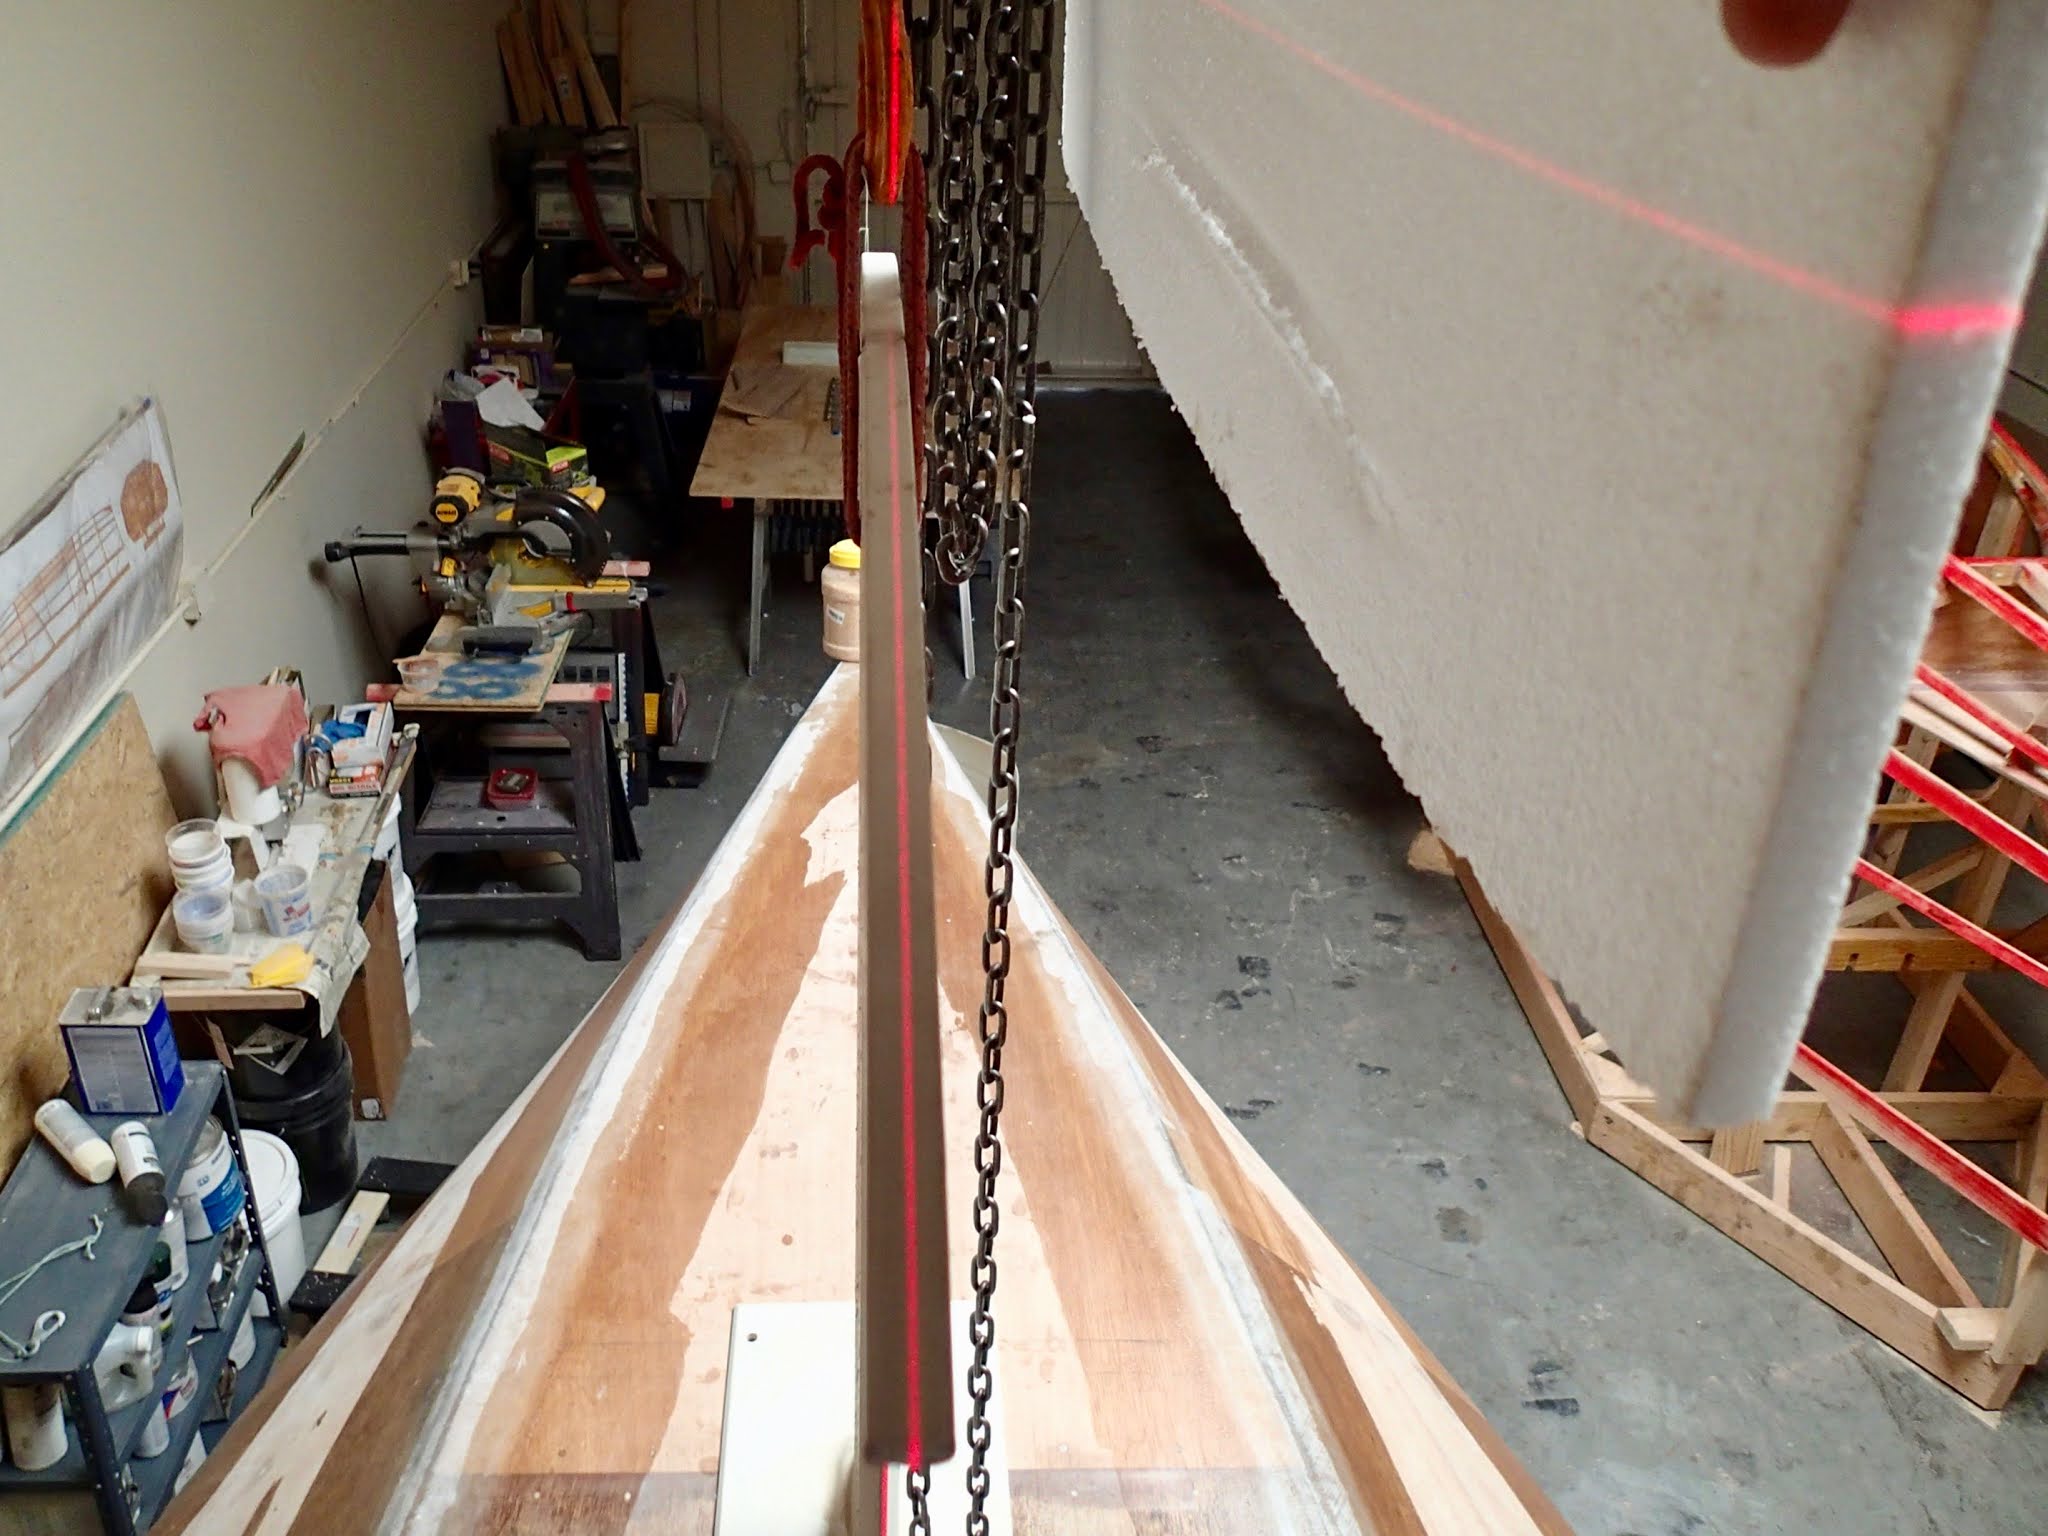
| Skeg premount (you can just see the laser line) |
 |
| Skeg premount |
 |
| Rudder is perfectly vertical |
 |
| Close up of the lower gudgeon |
 |
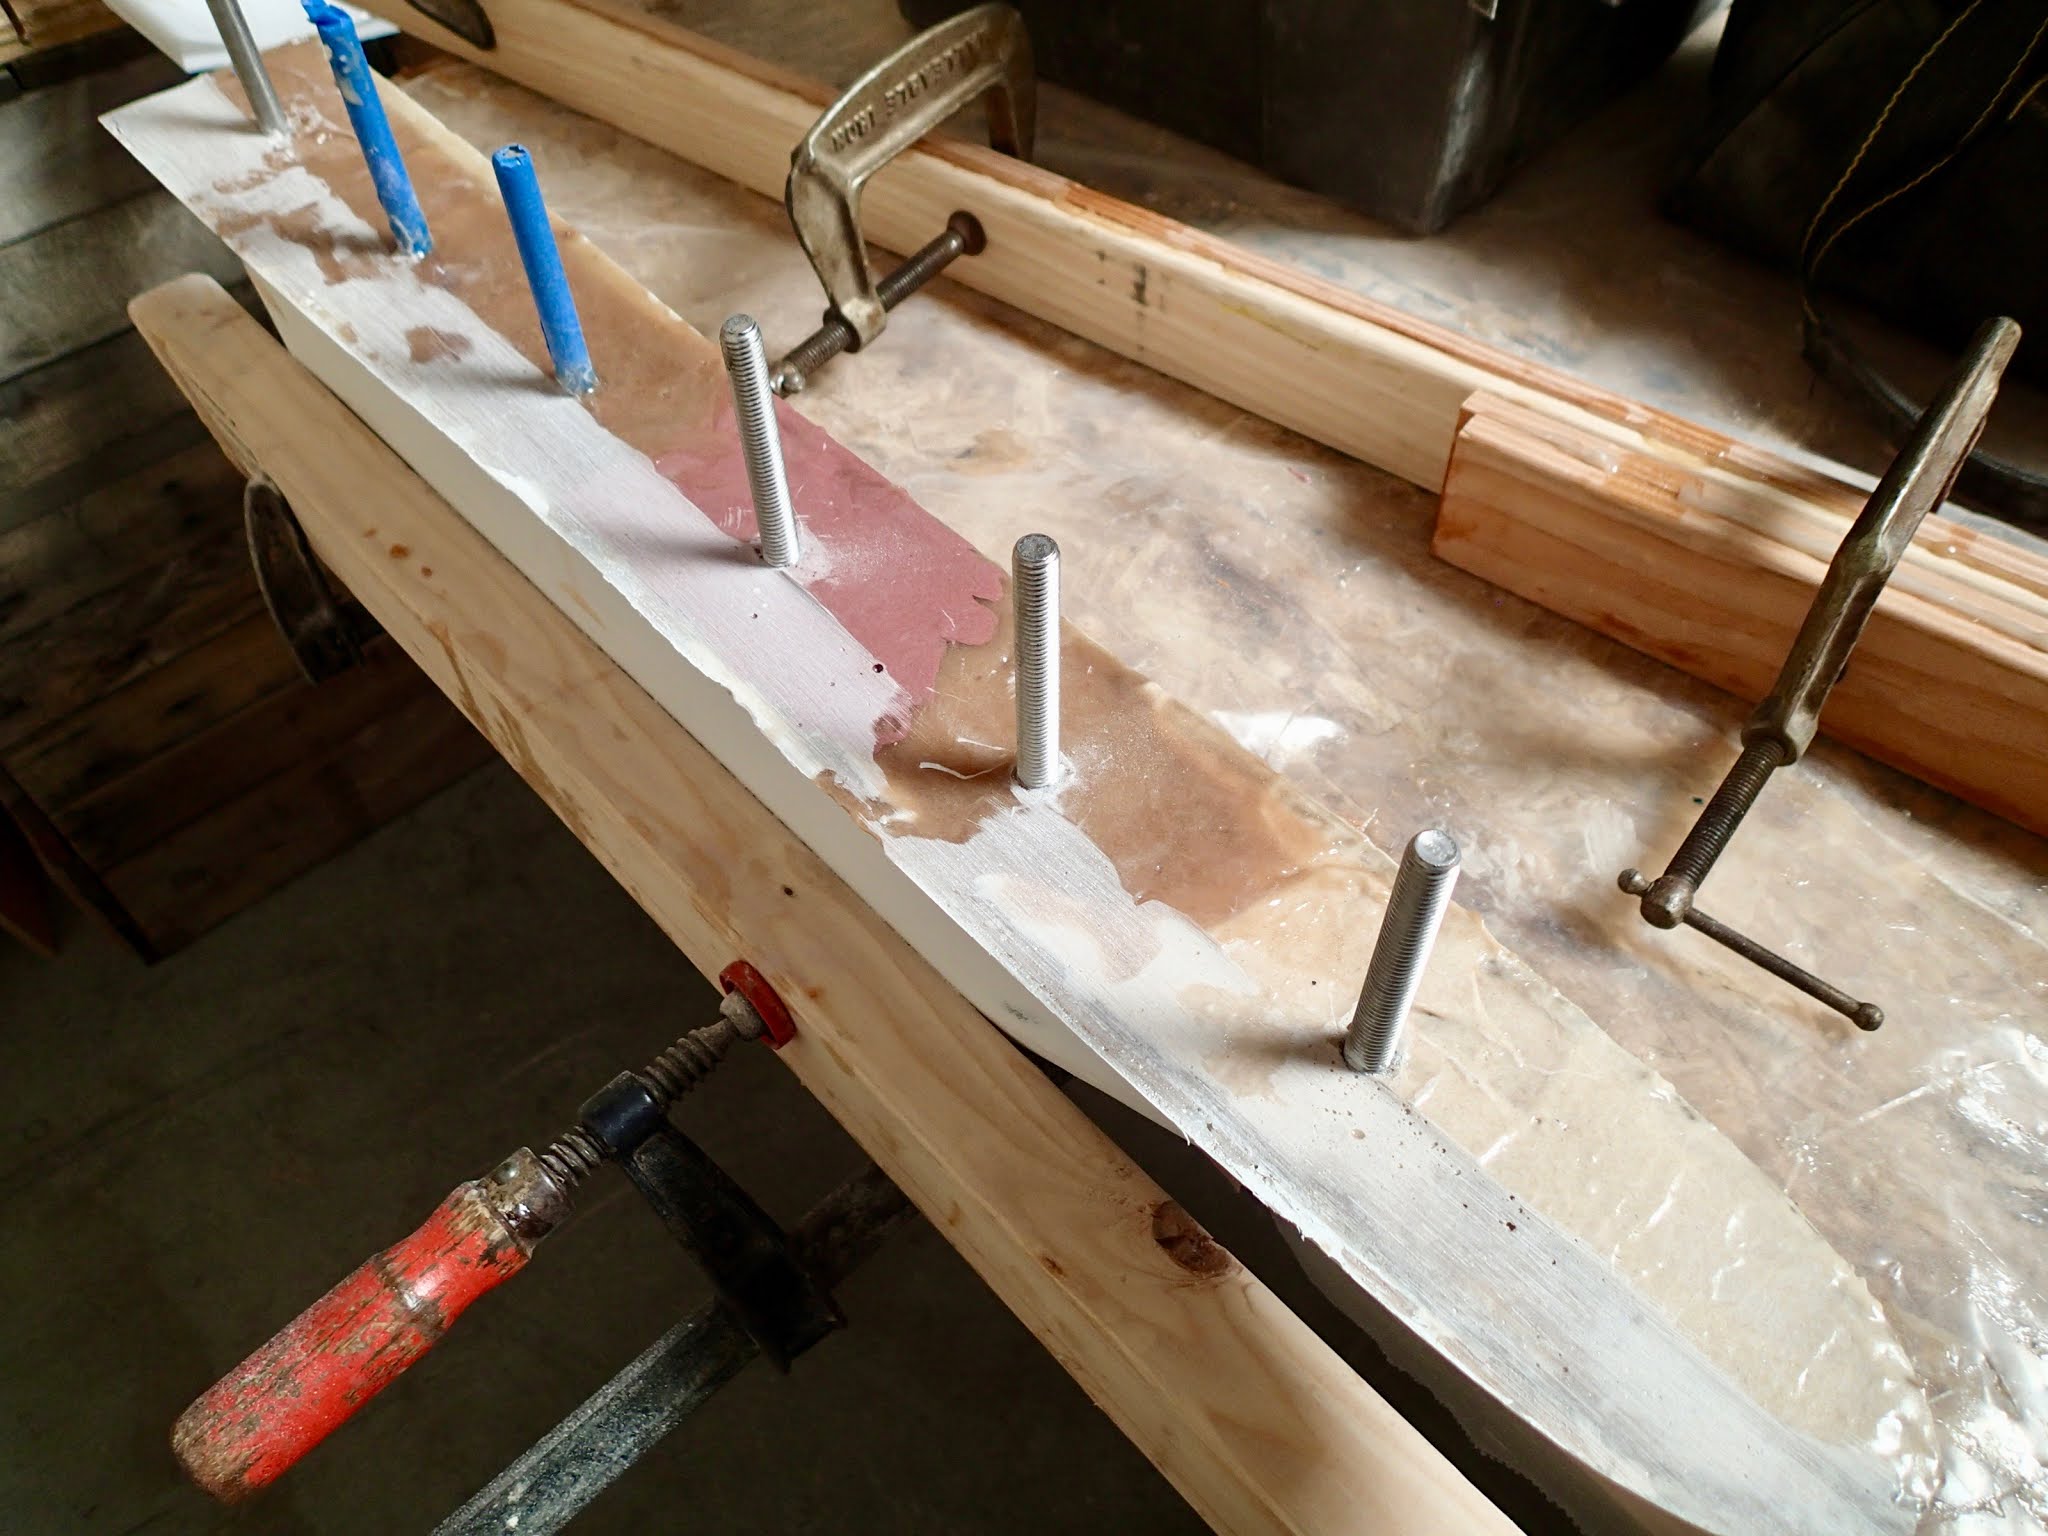
| Seam Tapes and Weights |
 |
| Seam Tapes and Weights |
 |
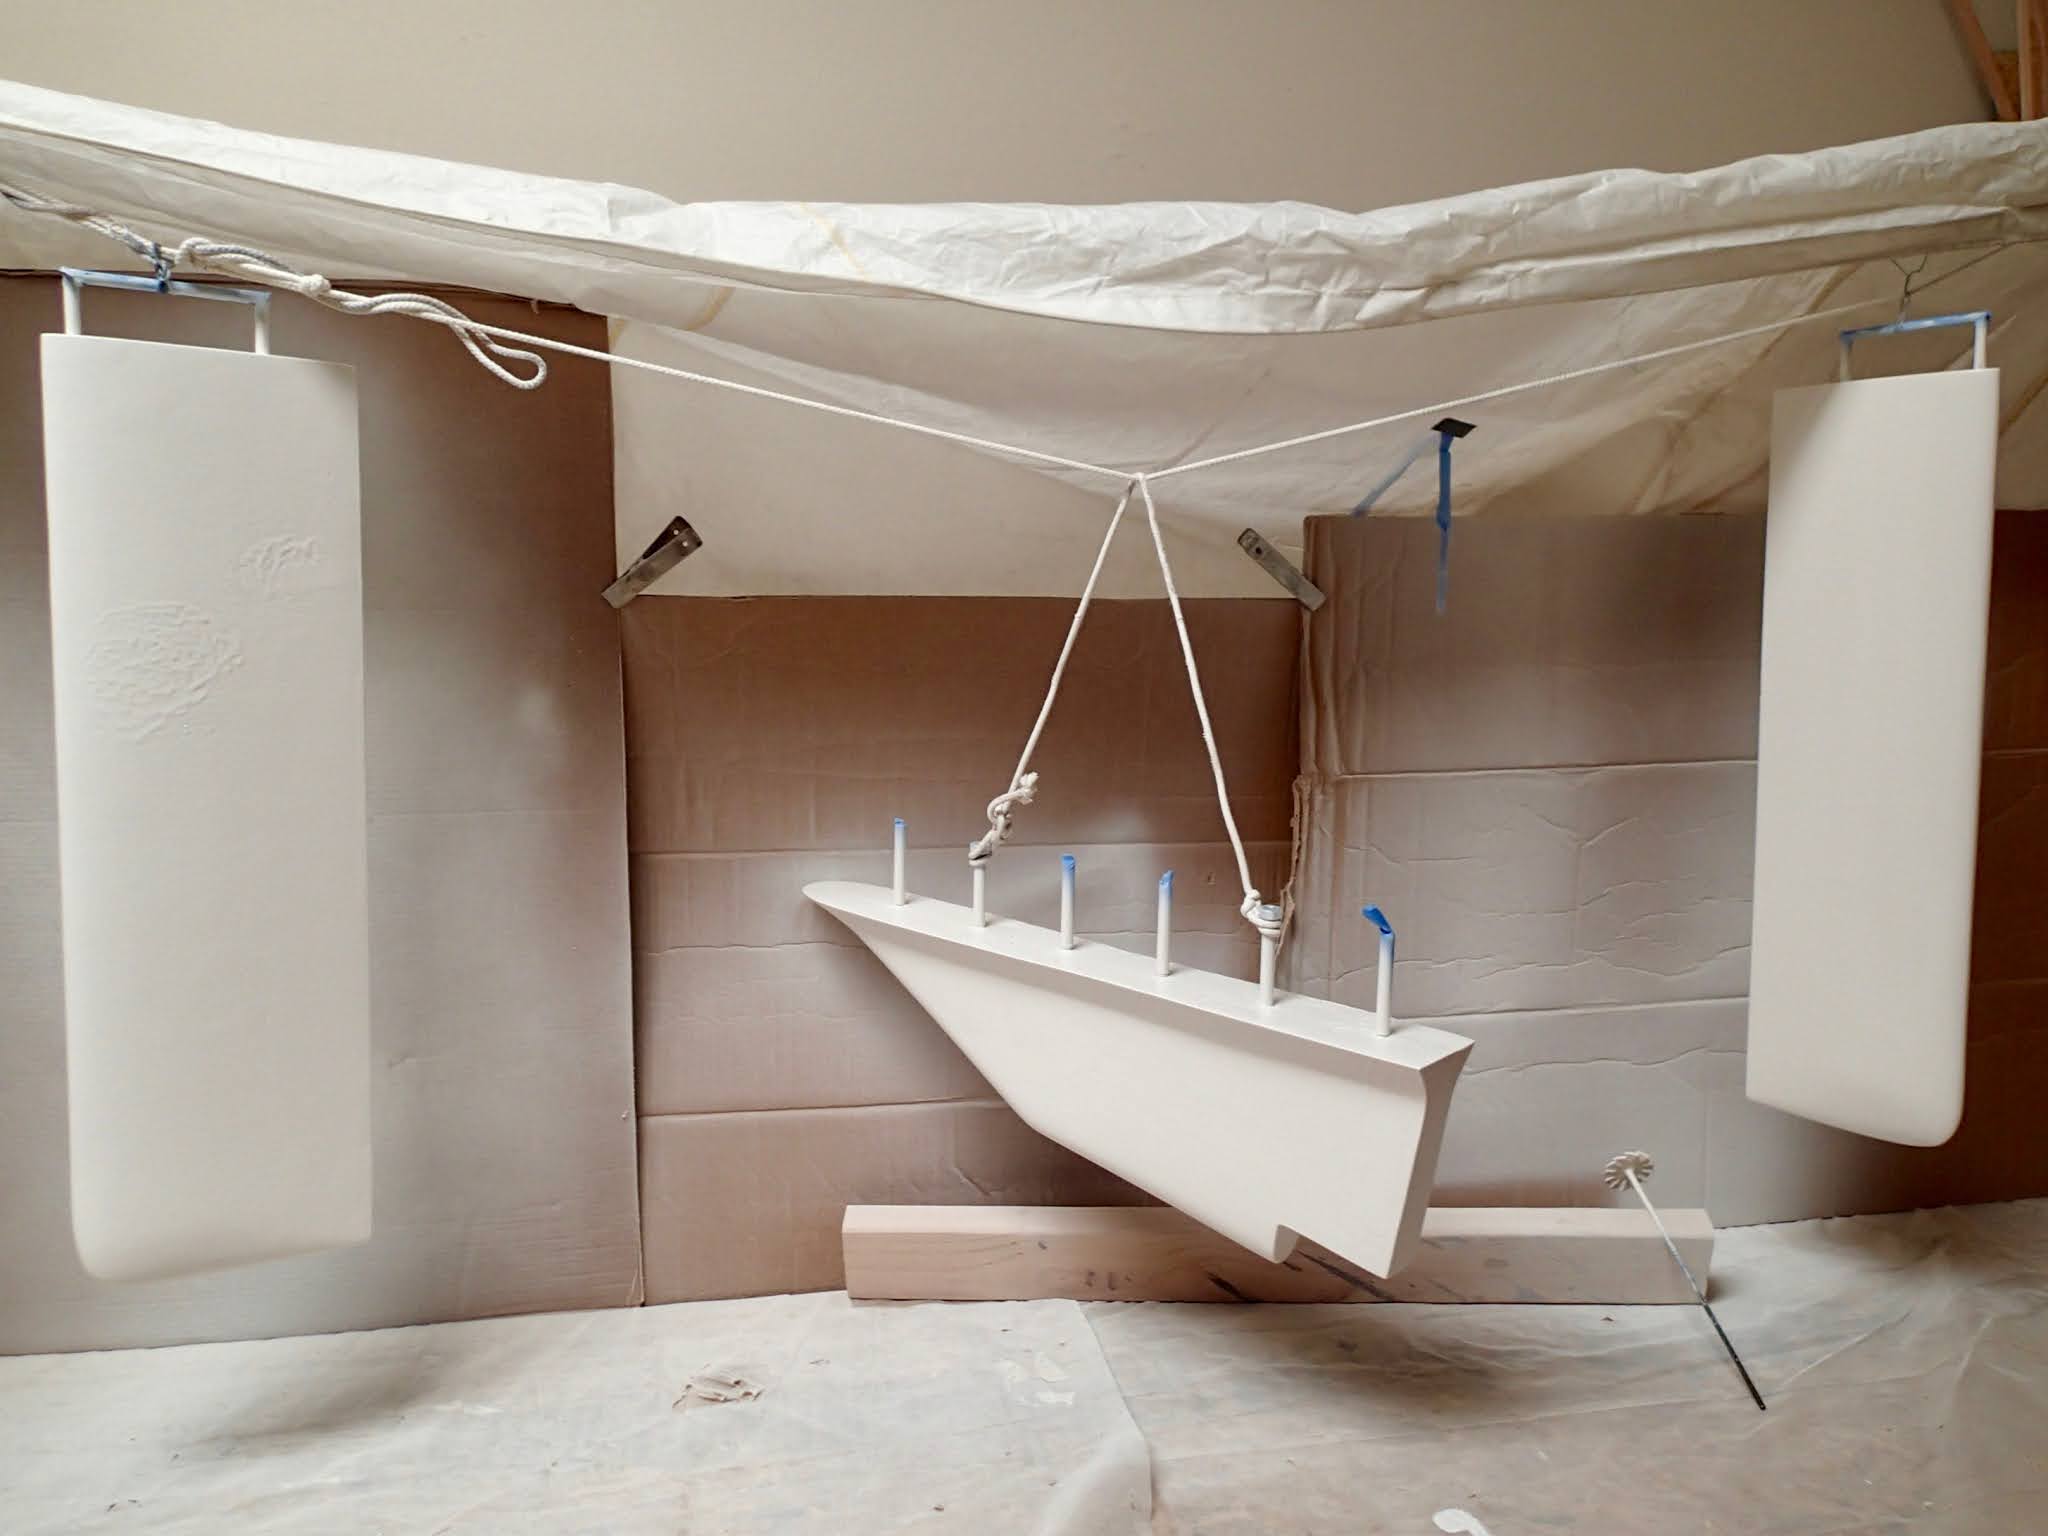
| Spreader Tips get epoxy final shaping |
 |
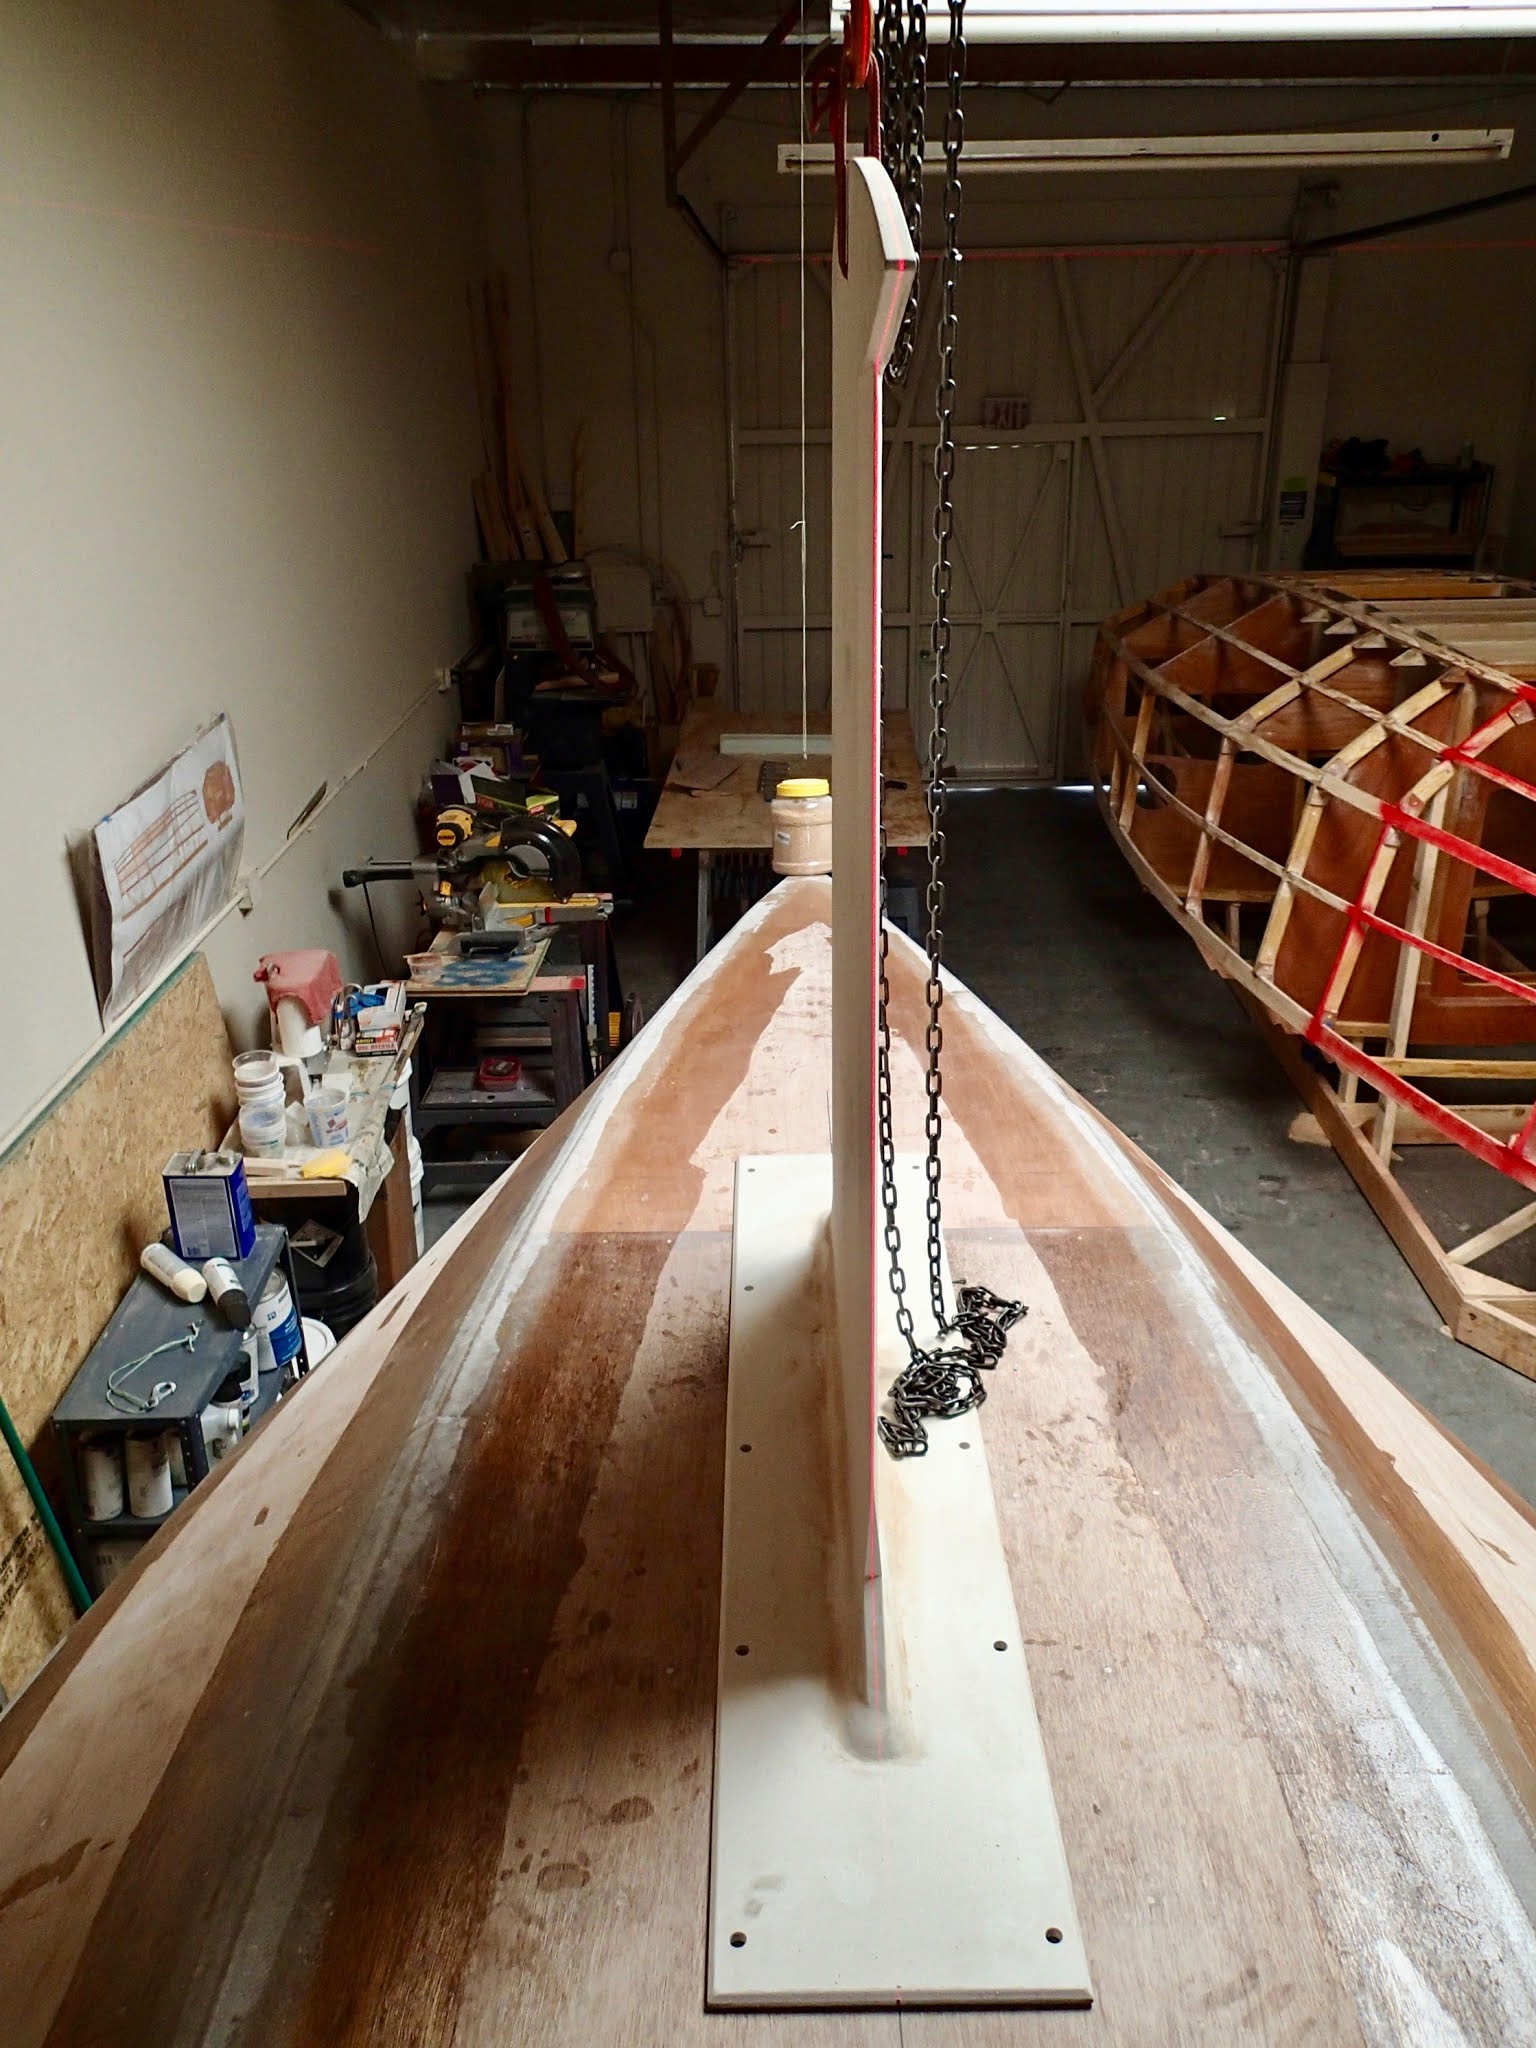
| Keel premount (laser straight fore and aft) |
 |
| Keel premount (laser straight vertical - look closely for laser beam) |
 |
| Keel Pad |
 |
| Glass hull first pieces |
 |
| Glass hull first pieces |
 |
Transom wraparound
|